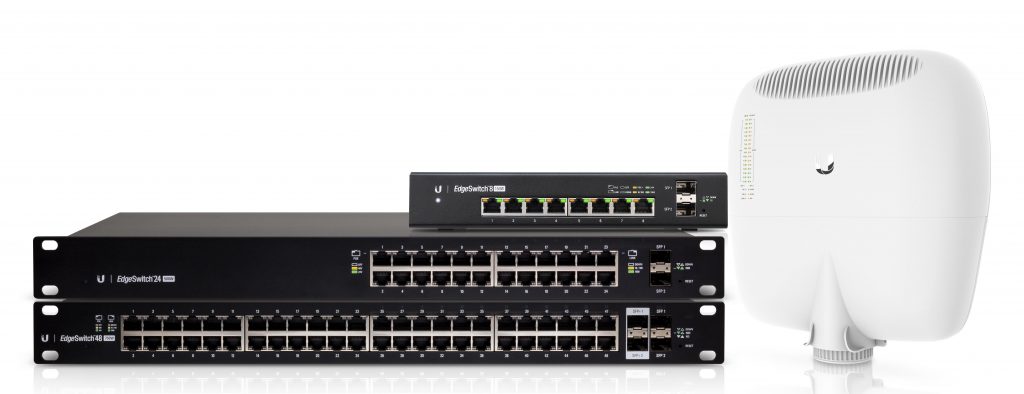
How to Enable MikroTik RoMon Access on UBNT EdgeSwitch and EdgePoint Devices
How to Enable MikroTik RoMon Access on UBNT EdgeSwitch and EdgePoint Devices
 Umut Can Yıldız
⸻
!! IMPORTANT: This procedure was performed in a test environment and has not been tested on actively running systems. Before applying the rules, do not forget to take a backup as a precaution!
!!! NOTE-1: If you cannot connect to your switches via SSH, you can enable the SSH connection feature of your switches with the help of this article: https://goo.gl/svdGwe
!!! NOTE-2: The booklet below was used while performing the procedure above. https://goo.gl/uAT9nk (Pages: 386 to 399)
Visit the store to browse and purchase wifiAnten products.
Enter storeQuestions
No questions yet. Be the first to ask.
Written by
Umut Can Yıldız
Sistem destek uzmanı
Related Posts
MikroTik RouterOS v7: IPTV, NexT Kanky, Turkcell TV+ ve Tivibu Donma Sorunu Çözüm Rehberi
Ağ altyapınızda Next Kanky gibi internet tabanlı IPTV alıcılarında veya Turkcell TV+, Türk Telekom Tivibu gibi servis sağlayıcı (ISP) Set-Top Box cihazlarında yaşanan donma, takılma (buffering) ve yavaş kanal geçişi sorunlarını MikroTik RouterOS v7 ile nasıl çözeceğinizi adım adım inceliyoruz. Bu rehberde FastTrack muafiyeti, QoS, IGMP Snooping ve VLAN tabanlı IGMP Proxy yapılandırmalarının teknik detayları yer almaktadır.
UniFi Güncelleme Sorunu – UniFi cihazları için manuel Güncelleme adımları
UniFi Controller Java 8 Shortcut Error and Device Discovery Problem Solutions
Learn how to resolve common UniFi Controller issues related to Java 8 compatibility, application shortcut errors, device discovery failures, firewall restrictions, Hotspot/Captive Portal conflicts, and the software getting stuck at the “Starting” stage on Windows systems.
Comments
No comments yet. Be the first to comment.
Leave a comment
Sign in with Google first to post a comment.