Why Does the Windows "Passpoint" Label Appear on MikroTik Wi-Fi Networks and How to Fix It?
You have recently deployed a new MikroTik Access Point or updated your existing RouterOS system to v7. Everything seems to be working flawlessly, but when you try to connect to the network using a Windows 10 or Windows 11 device, you notice a mysterious **"Passpoint"** label appearing right next to or beneath your Wi-Fi name (SSID). Why is this phrase showing up when you haven't explicitly configured it anywhere? Does it pose a security risk? Most importantly, how do you get rid of it? In this post, we will dive into the root cause of this issue and walk through the exact steps to resolve it on MikroTik RouterOS.
 Umut Can Yıldız
What is Passpoint (Hotspot 2.0)?
Before we jump into the solution, let’s understand what we are dealing with. Passpoint (technically known as Hotspot 2.0) is a technology developed by the Wi-Fi Alliance. Its primary goal is to enable cellular devices to seamlessly and securely transition between mobile networks (3G/4G/5G) and public Wi-Fi networks using SIM-card-based authentication—without requiring the user to manually enter a password.
For instance, when you walk into an airport or a coffee shop partnered with your mobile carrier, and your phone automatically connects to their secure Wi-Fi without any prompt, that is Passpoint at work.
Why Does This Happen on MikroTik Networks?
Unless you have intentionally set up a dedicated Passpoint infrastructure for your business or home, Windows flagging your network as Passpoint is simply due to a beacon signaling mismatch.
MikroTik’s new wifi driver package (formerly known as wave2), which comes standard with RouterOS v7, may include certain 802.11u (Interworking) parameters in its broadcasted “Beacon” frames by default or through specific security/channel profile combinations.
When Windows scans the airwaves and catches these specific parameters, it reasons like this:
“This network might support backend authentication via a mobile carrier or a Passpoint provider.”
Consequently, it slaps the “Passpoint” label onto your SSID. This behavior does not block your internet access, nor does it create a security vulnerability; however, in a professionally managed network environment, it is an annoying visual inconsistency that causes unnecessary user confusion.
The Solution: Disabling Passpoint Settings on MikroTik
To eliminate this label, we need to instruct our MikroTik router or access point to stop sending those “Interworking” (Passpoint) identifiers in its wireless broadcasts.
You can apply the fix using either the Command Line (CLI) or the Winbox GUI.
Method 1: The Quick Fix via Command Line (CLI)
This is the fastest and most foolproof method. Open your MikroTik terminal and run the following commands to clear and disable any active interworking profiles in your Wi-Fi configuration:
# Clear interworking (Passpoint) profile assignments on all Wi-Fi interfaces
/interface/wifi/configuration
set [find] interworking=""

# If a specific interworking profile was created, disable it entirely
/interface/wifi/interworking
set [find] disabled=yes
*Note: If you are running an older minor release of RouterOS v7, the menu path might be /interface/wifiwave2. Adjust the command syntax accordingly based on your specific version.
Method 2: Step-by-Step via Winbox GUI
If you prefer navigating the interface visually, follow these steps:
-
Open Winbox and connect to your MikroTik device.
-
Click on the WiFi (or WiFiWave2, depending on your setup) tab in the left-hand menu.
-
Navigate to the Configuration tab at the top and double-click your main Wi-Fi profile to open its settings.
-
Look for the Interworking section or tab within the profile window.
If there is a profile selected, unselect it (leave it blank) or completely clear the interworking field.
- Click Apply, then OK to save the changes.
*Wrap-up Once you apply these settings, your MikroTik device will briefly reset the Wi-Fi interfaces to reload the configuration.
To see the change instantly on your Windows device, simply turn your Wi-Fi off and back on, or right-click the network, select “Forget network”, and reconnect by re-entering your password. You will find that the “Passpoint” label has completely vanished, leaving your network profile clean and standard.
While minor cosmetic quirks like this can be annoying in network management, they are easily tamed with the right configuration tweaks. Happy networking!
Visit the store to browse and purchase wifiAnten products.
Enter storeQuestions
No questions yet. Be the first to ask.
Written by
Umut Can Yıldız
Sistem destek uzmanı
Table of Contents
Related Posts
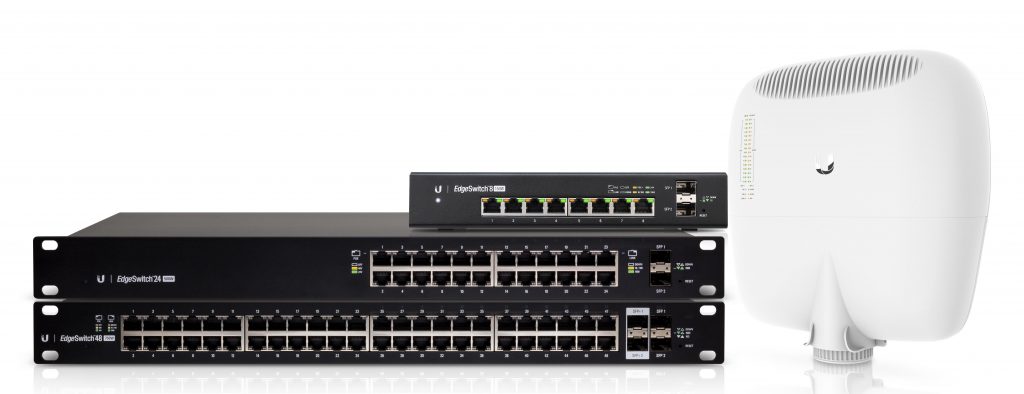
How to Enable MikroTik RoMon Access on UBNT EdgeSwitch and EdgePoint Devices
How to Enable MikroTik RoMon Access on UBNT EdgeSwitch and EdgePoint Devices

MikroTik RouterOS L2TP VPN Configuration with IPSec for macOS and iOS
Learn how to configure an IPSec-supported L2TP VPN server on MikroTik RouterOS for secure remote access from macOS and iOS devices. This guide explains the required PPP profile, L2TP server, IPSec policy, peer, identity, proposal, user account, firewall, NAT, and client-side VPN settings step by step for RouterOS V6.44 and later versions.

How to Prevent MikroTik Brute Force and Port Scanner Attacks?
In this article, we explain with examples how preventive measures can be taken against brute force attacks using MikroTik devices.
Comments
No comments yet. Be the first to comment.
Leave a comment
Sign in with Google first to post a comment.